Creating Multiple Development Environments with WSL2 on Windows 11
In today’s fast-paced development world, efficiently managing multiple development environments is essential. Windows Subsystem for Linux 2 (WSL2) provides a powerful and flexible way to create and manage isolated environments directly on your Windows 11 machine. Whether you’re a software developer or a hobbyist, having separate environments for different projects can streamline your workflow and minimize conflicts. This guide will walk you through setting up and configuring multiple WSL2 instances on Windows 11, ensuring you can optimize your development productivity.
Also published on Medium.

Setting up development environments, whether for legacy or distributed systems, can be quite cumbersome. It’s rare to set up a new environment from scratch every time; once configured, an environment is often used for months or even years without major changes. As a result, developers often find themselves searching on Google for setup instructions each time.
When developing with PHP, tools like MAMP or XAMPP make it easy to configure a development environment. Additionally, using container technologies like Docker or virtual environments like VirtualBox and VMware are excellent alternatives. These tools provide various ways to set up development environments tailored to specific needs.
In this article, among the various methods for setting up development environments, we will focus specifically on how to configure one using WSL2 on Windows 11. We aim to help you increase your development productivity by showing you how to easily build and manage isolated environments with WSL2.
Enabling WSL
To use the Windows Subsystem for Linux (WSL) on Windows 11, you first need to enable the related features to register them in the registry.
If these features are not activated, you may encounter errors like wslregisterdistribution failed with error: 0x800701bc or wslregisterdistribution failed with error: 0x80370102 during WSL installation.
These errors indicate that WSL was not installed correctly, and a few settings are required to resolve them.
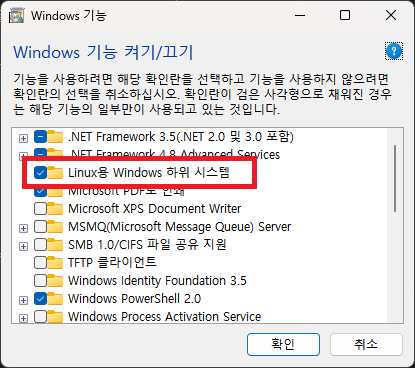
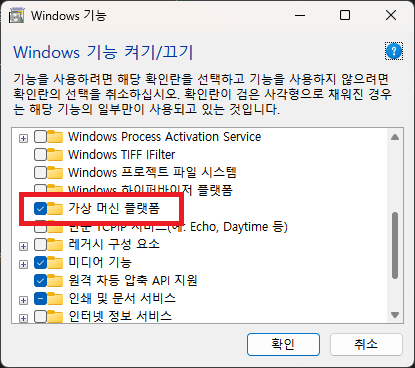
First, you must enable ‘Windows Subsystem for Linux’ and ‘Virtual Machine Platform’ in Windows Features. Both of these features are essential for WSL2 to function correctly. After enabling the features and rebooting your system, the necessary registry settings will be completed, allowing you to install WSL without any issues.
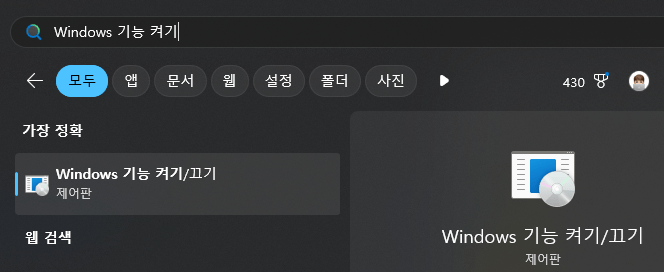
Turn Windows features on or off
Additionally, after installing WSL, you may need to download and install the latest Linux kernel update package. This ensures your WSL environment is up-to-date and helps prevent potential errors. Once all preparations are complete, you can start installing various Linux distributions and configuring your development environment.
Installing a WSL Distribution
Now that everything is ready for WSL installation, let’s install a distribution.

Installable WSL Distributions
You can check the available distribution images using the wsl -l -o command.
This command will display a list of all currently available Linux distributions for installation.
You will see several options, such as Ubuntu, Debian, and Kali Linux.
The next step is to choose and install the distribution you want.
To install a distribution, use the command wsl --install -d <Distribution Name>.
For example, to install Ubuntu, you would enter the command wsl --install -d Ubuntu.
Once the installation is complete, the distribution will launch automatically, allowing you to proceed with the initial setup. Now you can select and install your desired Linux distribution and start various development tasks in your WSL environment. Each distribution offers unique features and tools, so it’s important to choose the one that best suits your project.
Installing Multiple Instances of the Same Linux Distribution
As of December 2024, running the wsl --install command installs the default distribution, Ubuntu.
The version installed is the latest LTS release, Ubuntu 24.04.1 LTS. After installing this image and completing the basic setup, you can export it using the export command and later re-import it to create new instances.
wsl --export Ubuntu Ubuntu-clean.tar
wsl --import Ubuntu-clean .\Ubuntu-clean .\Ubuntu-clean.tar
Running these commands will export your currently configured Ubuntu image to a file named Ubuntu-clean.tar. You can then import this image back as a new instance whenever needed.
This is useful for creating multiple identical development environments or for testing various configurations while preserving the initial state.
Afterward, you can run the wsl -l -v command to see a list of your installed WSL distributions.
The image below shows a list of completed installations. You can then run a specific distribution using the command wsl -d Ubuntu-clean.
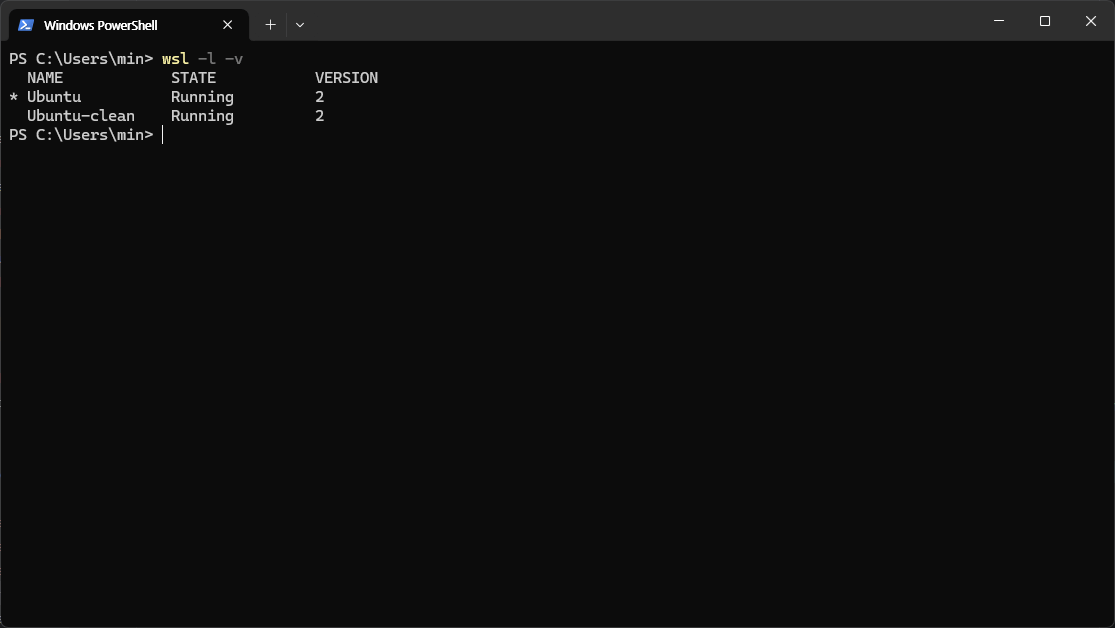
Installed Images
By configuring a separate development environment for each of these installed images, you can conduct various experiments and tests. For example, you could run an Apache web server on one image and an Nginx web server on another to compare the performance and features of different web servers. You could also install different versions of the same web server or various versions of programming languages to test compatibility and performance in each environment.
By setting up separate development environments in each WSL2 instance like this, you can build an optimal environment tailored to a specific project.
This minimizes potential dependency conflicts during development and provides isolated testing environments for different projects, supporting a more efficient development process.
To unregister a test environment and delete its VHD file, you can run the command wsl --unregister Ubuntu-clean.
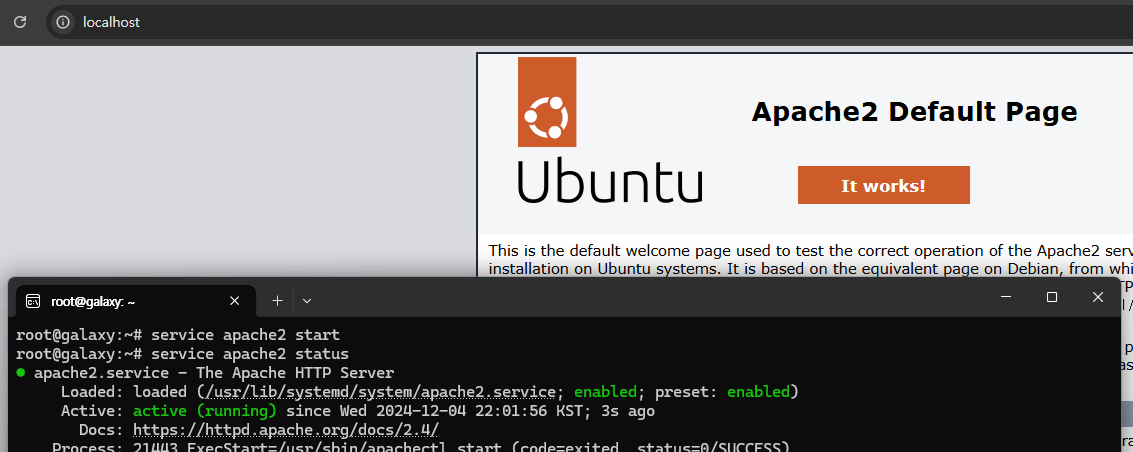
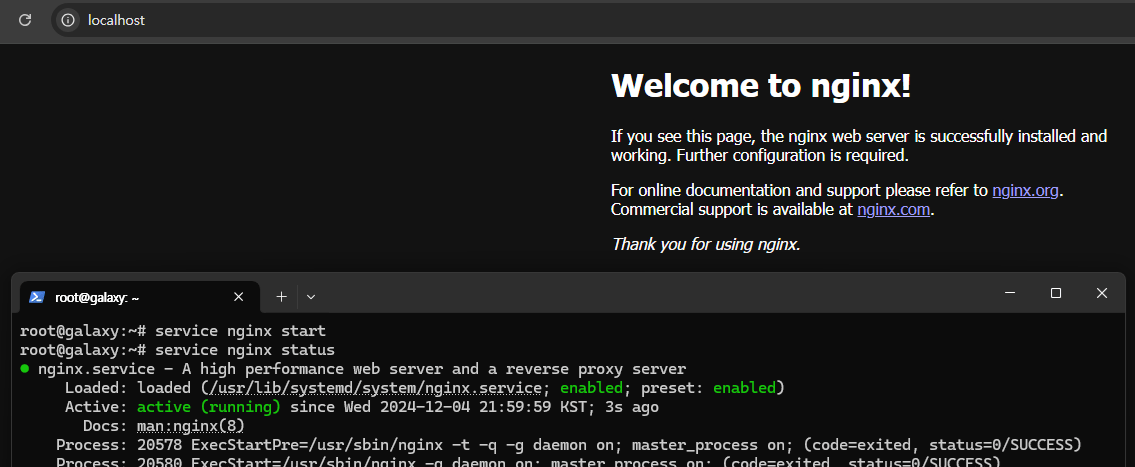
Separate Web Server Configurations
In conclusion, using a multi-instance environment with WSL2 provides developers with flexibility and scalability, becoming a powerful tool for easily performing various experiments and tests. With such a setup, you can maximize development productivity and systematically verify different scenarios.
References
- How to install Linux on Windows with WSL
- Solving WSL Error 0x80370102
- Error 0x800701bc when running WSL/WSL2 Ubuntu
- How to install multiple instances of the same Linux distribution in a Windows WSL environment