Configuring Swap Memory on Ubuntu 22.04 LTS
When using the free tier of services like Amazon Web Services EC2 or other self-hosted servers, you might occasionally run into issues with insufficient RAM when installing large external resources. This can cause the server to freeze for extended periods and eventually crash. While this doesn’t happen often, it can be quite critical if you’re running a personal project for commercial use and implementing a Micro Service Architecture on a server with very limited specifications. In such situations, swap memory can be extremely helpful. In this post, I’ve written about how to create swap memory and what it is.
I also publish on Medium.

© Unsplash © Akshar Dave🌻
Swap memory serves to supplement insufficient memory capacity by using a portion of the physical disk as volatile RAM (hereinafter referred to as memory). Occasionally, when installing large packages like Laravel or NestJS, the installation can fail due to insufficient resources, as it requires a significant amount of computer resources like memory and CPU.
On most virtual machine services, such as Google Compute Engine and Amazon EC2, you need to stop the instance and change its type to increase the memory capacity. If a system error due to insufficient memory occurs unexpectedly and forces a reboot, it’s crucial to be prepared in advance, as losses will continue to mount while the service is down. In such cases, configuring swap memory can provide at least temporary relief from memory shortages.
While such situations are rare in most commercial service environments due to the adoption of sophisticated infrastructure management technologies, setting up swap memory is very convenient and helpful on low-spec systems, like free-tier instances used for development testing or toy projects.
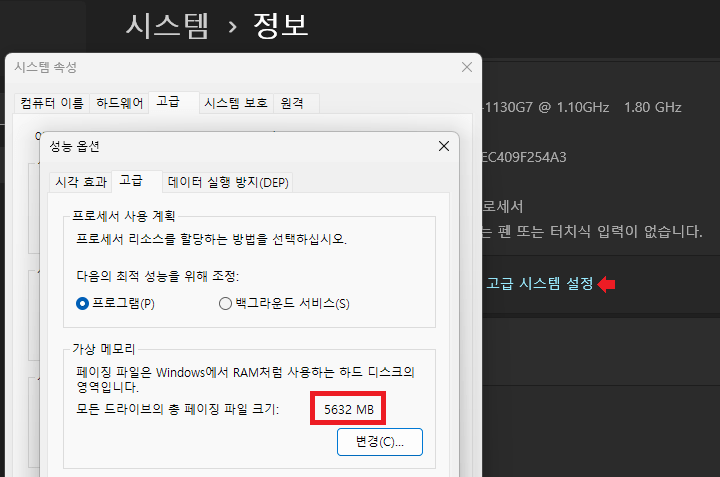
Virtual memory in Windows
The concept of swap memory isn’t exclusive to Linux or Unix-like systems such as Ubuntu. It’s also utilized in Windows under the name “virtual memory” and is particularly useful on low-spec PCs.
Setting Up Swap Memory
- Check if swap memory is already configured
   sudo free -m
   sudo swapon -s
- If swap memory is configured, disable it
sudo swapoff -a - Create a swapfile to be used as swap memory
# Create a 4G swap file sudo fallocate -l 4G /swapfile - Configure the created swapfile to be used as swap memory
   # Modify permissions
   sudo chmod 600 /swapfile

   # Prepare for activation
   sudo mkswap /swapfile

   # Activate
   sudo swapon /swapfile
- Configure swap memory to persist after a server reboot
   # Edit the file
   sudo nano /etc/fstab

   # Add the following line
   /swapfile swap swap defaults 0 0
- Swap memory setup complete

Disabling Swap Memory
If you no longer need swap memory, disable it.
# Disable swap
sudo swapoff -v /swapfile

# Edit /etc/fstab and remove the following line
sudo nano /etc/fstab
/swapfile swap swap defaults 0 0

# Delete the swap file
sudo rm /swapfile
References
- Wikipedia: Virtual memory
- Wikipedia: Paging